Most Shopify brands open their first physical location the same way they launch everything else: quickly, with the bare minimum setup, planning to tidy it up later. They grab the POS hardware, plug it in, and start selling. Six months later they are dealing with stock discrepancies, customers being asked for their details a second time, and online orders that cannot be picked up in store because nobody configured BOPIS properly.
The problem is not the tool. Shopify POS is genuinely excellent for a brand running one physical location alongside an online store. The problem is the setup. Done correctly, POS turns your retail footprint into a genuine competitive advantage: customers recognised instantly, inventory accurate in real time, and online orders picked up at the counter without a single manual step.
Done incorrectly, it creates two separate businesses that happen to share a brand name. This guide covers how to do it correctly, in the Australian context, from the beginning.
POS Pro vs Lite: Which You Actually Need
Shopify offers two tiers of POS software. POS Lite is included with every Shopify plan at no extra cost. POS Pro costs USD $89 per month per location (roughly AUD $135 at current exchange rates) and is bundled with Shopify Plus.
For a brand opening their first physical location, the decision usually comes down to three questions: Do you need staff management with role-based permissions? Do you need advanced inventory features like stock counts and purchase orders from the POS? And do you need omnichannel selling features like buy-online-pickup-in-store (BOPIS)?
If you answered yes to any of those, you need POS Pro. BOPIS alone — one of the highest-converting features a physical location can offer, with research showing that 49% of Australian shoppers have used click-and-collect in the past year — requires POS Pro to function properly in Shopify.
- POS Lite includes: Basic sales processing, cash management, manual refunds, email or SMS receipts, Shopify Payments integration, basic customer profiles, and gift card redemption.
- POS Pro adds: Buy-online-pickup-in-store, staff roles and permissions with PINs, in-store inventory management (stock counts, purchase orders, transfers), advanced reporting, unlimited register sessions, and local delivery management.
Our recommendation for any brand serious about using their physical location as a growth lever: start with POS Pro. The monthly cost pays for itself the first time a customer picks up an online order at your counter rather than waiting for shipping.
Hardware Shopping List for the Australian Market
Shopify’s hardware lineup works in Australia, with some important nuances. The Shopify POS Go (the all-in-one handheld device) is available and works well for pop-ups, markets, and staff who need to move around the floor. For a fixed counter setup, the Shopify Terminal (card reader with display) paired with an iPad is still the most common configuration in Australian retail.
A typical single-location setup for an Australian brand looks like this:
- Shopify POS Go or iPad (10th gen or later): AUD $499 to AUD $799 depending on model and storage. The iPad with Shopify app is more flexible for counter setups; POS Go suits floor staff and markets.
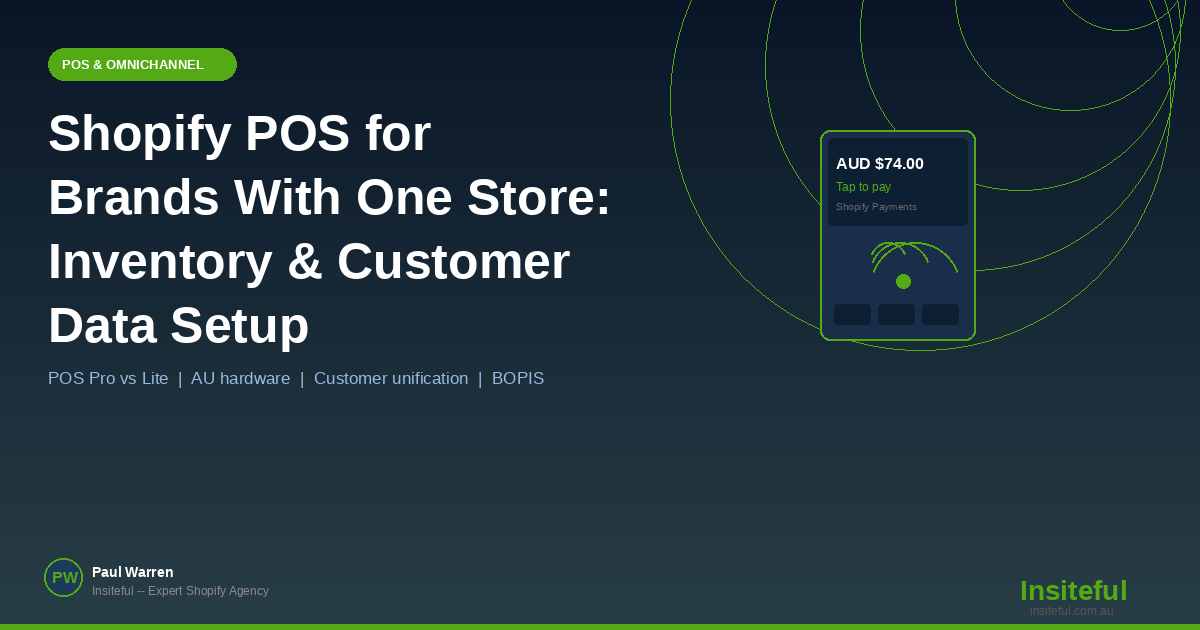
- Shopify Tap and Chip Card Reader: AUD $69. Works with Apple Pay, Google Pay, and all major Australian debit and credit cards. Requires Shopify Payments to be enabled.
- Shopify Terminal (optional): AUD $399. Purpose-built reader with customer-facing display. Better for higher-volume counters where the card reader alone feels bare.
- Receipt printer: Star Micronics TSP143III (AUD $299 to AUD $349). Connects via Wi-Fi. Shopify POS supports a short list of compatible printers; stick to the Star Micronics range to avoid connectivity issues.
- Cash drawer: AUD $80 to $150. Any drawer with an RJ12 port that connects to the receipt printer works. Shopify does not sell a branded cash drawer.
- Barcode scanner (optional): Socket Mobile S700 or Zebra DS2208 (AUD $180 to AUD $250). Useful for high-SKU stores; less critical for brands selling 20 to 50 SKUs.
Total hardware budget for a clean single-counter Australian setup: AUD $1,000 to AUD $1,500 depending on whether you go with Terminal or just the Tap and Chip Reader.
One note on payment processing: Shopify Payments is available in Australia and integrates natively with POS hardware, giving you unified reporting across online and in-store sales. Tyro is an alternative Australian EFTPOS provider with competitive rates for higher-volume businesses, but it requires a separate terminal and does not feed unified transaction data back into Shopify’s analytics the way native Shopify Payments does. For most brands under AUD $2M annual retail turnover, Shopify Payments is the simpler and usually cost-comparable choice.

Inventory Architecture: One Location vs Multi-Location
Shopify supports up to 1,000 inventory locations, but the way you configure those locations affects how stock moves across your business. For a brand with one online store and one physical retail location, the architecture question is simple but the answer has consequences.
You need two locations: your online store (or warehouse/3PL) and your physical retail location. These are configured under Settings > Locations in Shopify admin. Each product variant then has a stock quantity assigned to each location.
The critical configuration step most brands miss: when you add the physical retail location, you need to set whether it participates in online fulfilment. If your retail staff are also picking and packing online orders, enable it. If online fulfilment happens from a separate warehouse or your home office, disable fulfilment for the retail location. Mixing these two up is the single most common cause of stock discrepancies we see when auditing Shopify POS setups.
- Retail location fulfils online orders: Enable the location for online fulfilment. Every online order will potentially route to your retail staff for picking. Works well for brands where retail and online share the same physical stock pool.
- Retail location is stock-only: Disable online fulfilment for the retail location. Online orders route to your warehouse or default location. Retail staff manage their own stock independently. Works well when retail and online are genuinely separate inventory pools.
- Shared stock, separate fulfilment: The most complex model. You have one shared stock pool but want online orders to fulfil from a specific location. Shopify handles this via fulfilment priority settings. Requires careful setup but gives you maximum inventory efficiency.
Stock transfers between locations are managed in POS Pro under Inventory > Transfers. When you need to move 50 units from your warehouse to the retail floor, create a transfer in Shopify. This creates an audit trail, updates both location quantities, and keeps your reporting clean. Brands that skip the formal transfer process and just adjust counts manually create reconciliation problems they usually do not discover until stocktake.
For stocktakes, POS Pro includes a native inventory count tool. Staff can scan barcodes or manually count SKUs, submit the count, and Shopify adjusts quantities with an audit log of what changed and when. For a brand with fewer than 500 active SKUs at retail, this native tool is adequate. Above that threshold, consider a dedicated inventory management app like Stocky (free, Shopify-owned) or Cin7 Core for more sophisticated cycle-count workflows.

Customer Profile Unification: The Part Most Brands Miss
Here is a common scenario: a customer has been buying from your online store for two years. They walk into your physical location, make a purchase, and the staff member looks up their email at checkout. Shopify POS finds the existing customer profile and attaches the in-store transaction to their record. The customer now has a unified purchase history: every online order, every in-store purchase, all in one place.
That is the outcome when things work correctly. The failure mode is when staff skip the customer lookup step, or when the POS creates a new customer record instead of matching the existing one, or when the email address captured in store has a typo that creates a duplicate profile. Over 12 months, this fragmentation makes your customer data unreliable. Email segments built on purchase behaviour start missing in-store buyers. Loyalty programmes cannot account for in-store spend. Lifetime value calculations are wrong.
Fixing this requires three things:
- A staff process for customer capture at every transaction. Not just for loyalty members. For every sale. Staff look up the customer by email or phone before completing the transaction. This should be a non-negotiable part of your POS SOP, not a best-effort suggestion. Brands that build customer capture into their checkout script — a natural, brief prompt like “Can I grab your email to send through a receipt?” — typically achieve 70 to 80% email capture rates in-store.
- Shopify’s native customer deduplication. Shopify will flag duplicate customer records when it detects the same email on multiple profiles. Admin > Customers > Duplicates shows all flagged records. Review and merge these monthly. Do not let duplicates accumulate.
- A loyalty or CRM layer that reads across both channels. Shopify’s native customer profiles store all purchase history, but they do not natively support points-based loyalty. If loyalty is important to your brand, tools like Smile.io, LoyaltyLion, or Yotpo Loyalty all integrate with both Shopify online and POS, meaning a customer earns and redeems points whether they buy online or in store.
One more thing worth noting: if you are using Klaviyo for email marketing (and you should be, at any meaningful revenue level), Klaviyo reads Shopify customer profiles including in-store purchase data via the POS integration. This means your in-store buyers automatically enter Klaviyo segments and flows the same way online buyers do. A customer who buys in store can receive a post-purchase email, a replenishment reminder, or a win-back campaign, all triggered by the in-store transaction. This alone justifies taking customer capture at POS seriously.

BOPIS Setup That Does Not Break
Buy-online-pickup-in-store is one of those features that looks simple and breaks in subtle ways when configured incorrectly. The result is orders that never get marked as ready for pickup, customers who show up to a counter that has no idea an order is coming, and staff who have no workflow for locating and staging pickup orders.
BOPIS requires POS Pro. Once that is active, here is the configuration sequence:
- Step 1: Enable the pickup location. In Shopify admin, go to Settings > Shipping and delivery > Local pickup. Select your retail location and enable it. Set a pickup time estimate (same day, 1 to 2 hours, etc.) and an optional instruction for customers.
- Step 2: Confirm stock allocation. When a customer places a click-and-collect order, Shopify reserves stock at the pickup location. Make sure the retail location has sufficient stock for the products you intend to offer for pickup. If stock is managed centrally, configure fulfilment priority so pickup orders pull from the right location first.
- Step 3: Build the in-store fulfilment workflow. POS Pro shows a dedicated Orders tab with all orders assigned to that location, including click-and-collect orders. Staff accept the order (changing status from Unfulfilled to Ready for pickup), which triggers an automated email and SMS to the customer. Configure the notification template in admin under Settings > Notifications to include your store address, hours, and any specific instructions.
- Step 4: Complete the pickup at POS. When the customer arrives, the staff member opens the order in POS, verifies the customer by name or order number, and marks it as picked up. Shopify records the fulfilment, updates inventory, and sends a confirmation to the customer.
The most common BOPIS failure we see: stock is not actually available at the retail location when a pickup order comes in. A customer orders online, stock is theoretically at the retail location in Shopify, but the physical product is not there because inventory was not transferred or the count was wrong. The customer gets an automated “ready for pickup” email, arrives, and nothing is waiting for them.
The fix is a clean inventory discipline before you enable BOPIS: do a physical count of your retail location stock, reconcile it in Shopify, and establish a weekly mini-count routine for your top 20 SKUs. BOPIS only works as well as the inventory data underneath it.
Staff Permissions and PIN Management
POS Pro includes role-based staff management. You can assign each staff member a PIN (4 to 6 digits) that logs them into POS sessions and tracks their individual sales. This is important for accountability in multi-staff environments, and it drives the reporting: you can see sales by staff member, which matters for commission structures and performance reviews.
Staff roles in POS Pro have two default levels: Staff (limited access) and Manager (full access including refunds, discounts above a set threshold, and cash management). A sensible default for a small retail team: floor staff can process sales, apply pre-configured discounts, and look up customer profiles. Managers have full access including cash drawer management, refunds without approval, and end-of-day reports.
Shopify POS staff members do not need full Shopify admin access. POS-only staff can be invited and managed separately under Settings > Users. This is useful for casual staff or retail-only team members who have no reason to access your Shopify admin, product management, or online orders.
Gift Cards Across Channels
Shopify’s gift card system works natively across online and in-store channels when POS is connected. A gift card purchased online can be redeemed in store, and vice versa. There is no additional configuration required beyond having gift cards enabled in your Shopify store and POS connected.
When staff sell a physical gift card in POS, they issue it in Shopify, which generates a unique code. That code works for online redemption too. If you are using a third-party loyalty or gift card provider that does not integrate with Shopify POS, you lose this unification. Stick to Shopify’s native gift card system for a single-location setup to keep everything in one place.
How We Scope POS Rollouts at Insiteful
When a brand comes to us planning to open their first physical location, the POS conversation is part of a broader build or upgrade project. But the POS setup questions are specific and worth working through systematically before any hardware is purchased or software is activated.
We start with inventory architecture: how is stock currently managed, where does it live, and how should online and retail inventory relate to each other? This determines location configuration and fulfilment settings. Getting this wrong creates ongoing operational pain; getting it right creates a system that runs itself.
We then look at customer data flow: what systems are already in place for email, loyalty, and CRM? Shopify POS feeds into all of them, but only if the integration is configured correctly and staff are trained to capture customer information at checkout. A POS setup without a customer capture protocol is an opportunity wasted.
Finally, we look at the operational workflows: who fulfils click-and-collect orders, how are refunds handled, what end-of-day reporting does the owner need, and how does the retail data feed into broader business reporting? These are not complicated questions, but they are worth answering before the first customer walks through the door, not after.
A well-configured Shopify POS setup for a single-location Australian brand takes one to two days of careful work. The payoff is a retail operation that talks to your online store, not one that runs parallel to it.
If you are weighing up Shopify POS for your first physical location, or trying to clean up a setup that is already causing problems, that is exactly the kind of call we help founders navigate. Talk to the Insiteful team and we will walk through your setup together.